
Starting a Meeting
Starting a Meeting
Quick Start
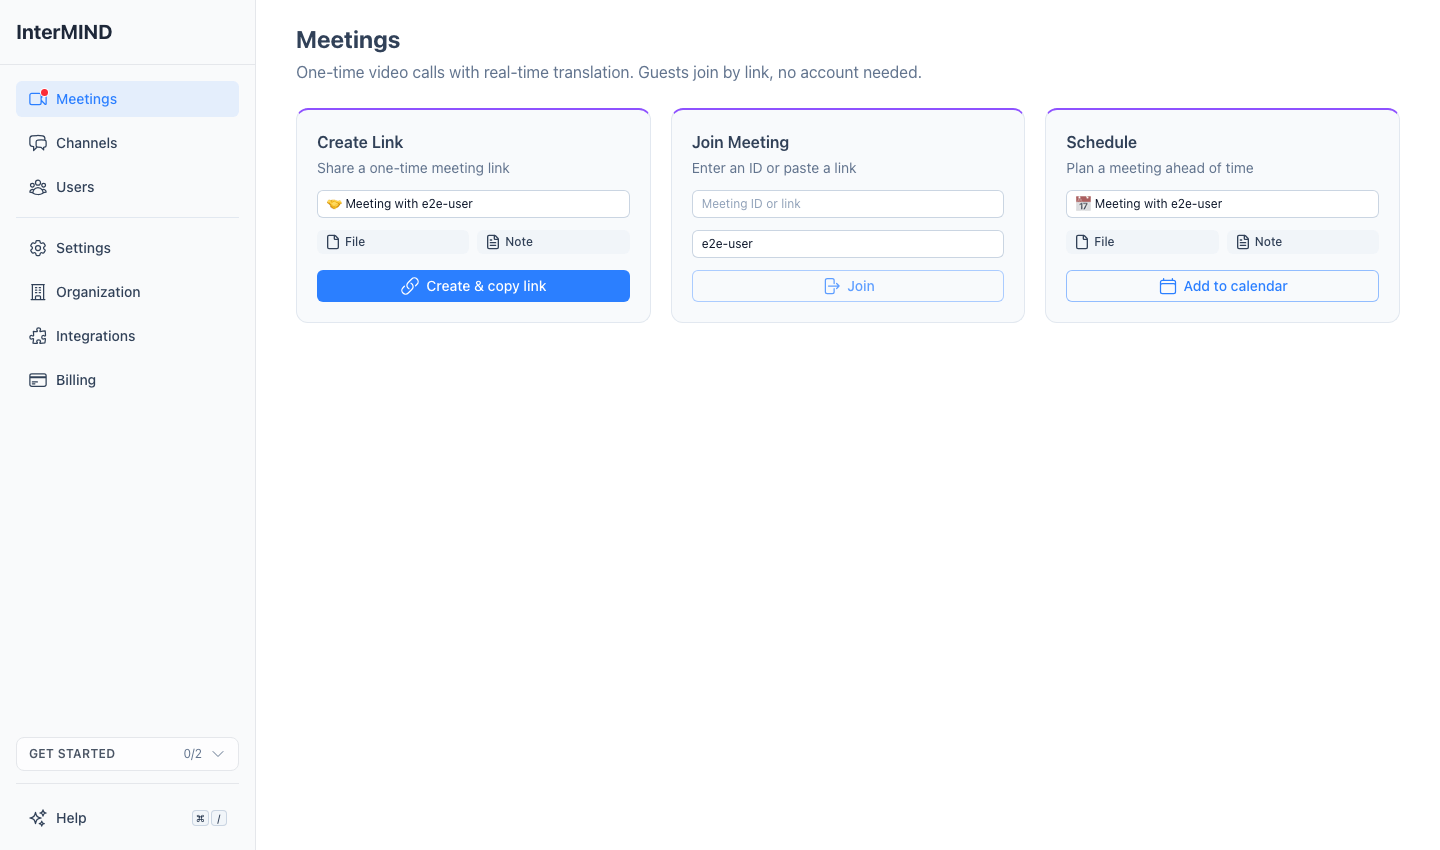
Navigate to Meetings
Go to the Meetings page from the sidebar.
Click New meeting
The New meeting button is a split button. The main half creates a meeting and takes you straight into it. The calendar half creates a meeting without entering it and opens your calendar with the event pre-filled — for scheduling instead of meeting now. The list names the meeting after its participants; use the row's rename action to set your own title.
Share the link
Send it via email, messaging app, or any other channel — or use the field next to the button: it accepts a meeting ID or link (the button turns into Join) or a contact's name or email. Pick one or more contacts and the button becomes Meet now — it creates the meeting, sends the invites (email, plus a push notification on mobile), and puts you in the room.
Join the meeting
Click the Join button next to the meeting in the list (or open the copied link). You're taken to the pre-join setup screen.
Configure your devices
Set up your camera and microphone, then click Join.
Scheduling a Meeting
Any meeting can be added to your calendar — including one that has already met (the link is permanent, so a one-off room can become a recurring one without losing its chat and recaps):
Go to the Meetings page
Open the Meetings page from the sidebar.
Click the calendar button on the meeting's row
Your configured calendar provider opens in a new tab with the event pre-filled (title, join link, and recap link). Pick the date, invitees, and — for a regular meeting — the recurrence right there.
Done
The calendar event includes the meeting link for participants. The meeting row picks up the date and any later changes from your calendar; once the event is observed, the same button opens it for editing.
The Meetings List
Meetings are grouped into Scheduled and Recent (the last 10). Useful controls on each row:
- Pin to top (Recent rows, in the ⋯ menu) — keeps a meeting first in the list on this device; pins are per-browser
- Hide from list (eye-slash on hover) — removes the meeting from your own list. If you created the meeting, the action becomes Hide for everyone and removes it from every participant's list
- Starting soon — a scheduled meeting shows a live countdown ("In N min") for 30 minutes before start, and "Now" while it's in its scheduled window
Meeting Host
The person who creates a meeting becomes the host. The host has additional privileges:
- Approve or deny guest access requests
- Mute other participants' microphones remotely
- All files and recordings produced in the meeting count toward the host's storage quota
Meeting Capacity
The maximum number of participants depends on your plan:
| Plan | Max Participants |
|---|---|
| 🆓 Basic | 50 |
| ⭐ Pro | 100 |
| 🏢 Business | 300 |
| 🏛️ Enterprise | 1,500 |